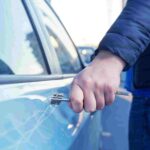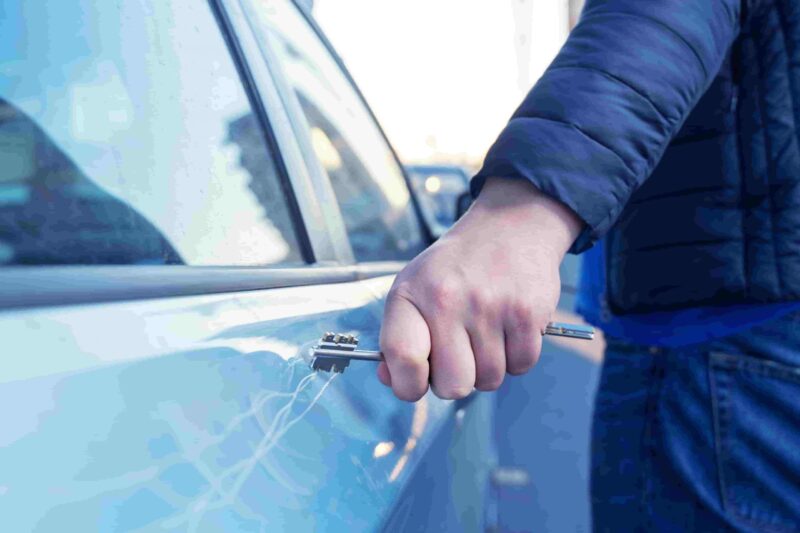
We’ve all experienced that sinking feeling when we discover that our car has been keyed. Whether it was due to an act of vandalism, a jealous ex, or a random accident, a scratch in your car’s paint job can be both frustrating and disheartening.
But fear not, fellow car enthusiasts! In this comprehensive guide, we’ll teach you how to fix a keyed car yourself and restore it to its former glory. Follow these simple steps to repair the damage, save money, and leave your car looking as good as new.
Step 1: Assess the Damage
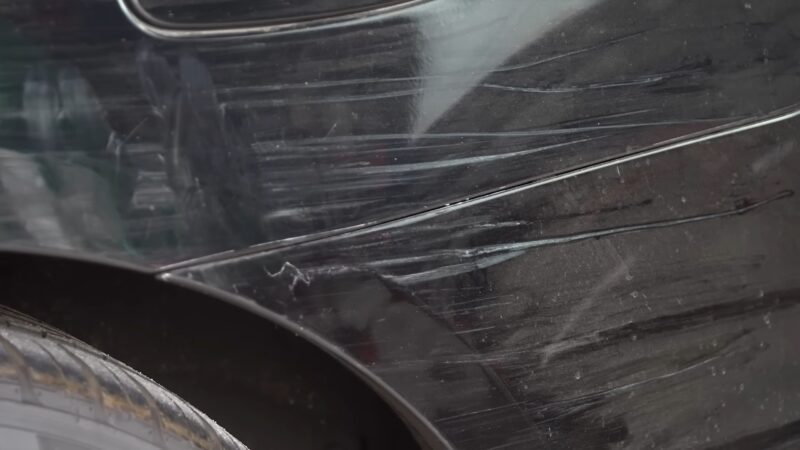
The first step in fixing a keyed car is to assess the extent of the damage. There are three main types of scratches that you may encounter:
- Clear Coat Scratch: This is a light scratch that affects only the clear coat (the top layer of paint). It often appears as a faint, white line and can be repaired easily.
- Base Coat Scratch: This type of scratch penetrates the clear coat and reaches the base coat (the colored layer of paint). It’s more noticeable and may require a slightly more involved repair process.
- Deep Scratch: This scratch goes through the base coat and exposes the metal or plastic underneath. Deep scratches are the most challenging to repair and may require professional help.
To determine the depth of the scratch, run your fingernail over it. If your nail catches, it’s likely a base coat or deep scratch. If not, it’s probably just a clear coat scratch.
Step 2: Gather Your Materials
Once you’ve assessed the damage, it’s time to gather the necessary materials for the repair. For this DIY project, you’ll need the following:
- Soapy water and a clean cloth
- Sandpaper (2000-grit for clear coat scratches, 1500-grit for base coat scratches)
- Automotive masking tape
- Touch-up paint or a paint pen (matched to your car’s color)
- Clear coat or clear coat pen
- Rubbing compound
- Microfiber towel
- Polish
- Wax
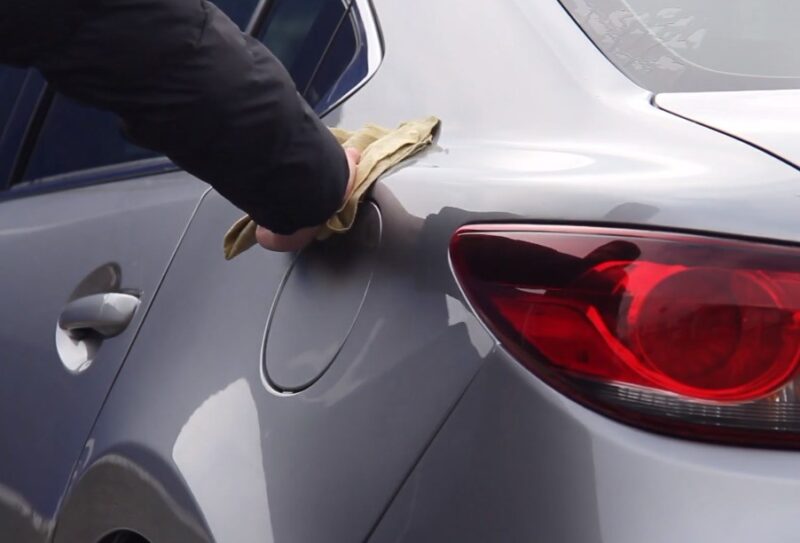
Step 3: Clean the Area
Before you begin the repair, it’s crucial to clean the affected area to ensure proper paint adhesion. Mix some soapy water, and use a clean cloth to wash the scratch and the surrounding area. Rinse thoroughly and dry with a microfiber towel.
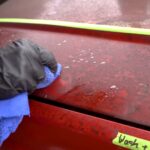
Step 4: Sand the Scratch
For clear coat scratches, start by wet-sanding the affected area using 2000-grit sandpaper. Dip the sandpaper in water and gently sand the scratch in a back-and-forth motion, following the scratch’s direction. Be careful not to sand too aggressively, as you want to avoid removing too much of the clear coat. You should notice the scratch becoming less visible.
For base coat scratches, use 1500-grit sandpaper to wet-sand the area. Sand the scratch until the edges are smooth and the area is level with the surrounding paint.
Step 5: Mask the Area
To protect the surrounding paint, use automotive masking tape to tape off the area around the scratch. This will help ensure that the touch-up paint is applied only to the damaged area.
Step 6: Apply Touch-Up Paint
Now it’s time to apply the touch-up paint. For clear coat scratches, you can skip this step and move on to applying the clear coat.
For base coat scratches, use a touch-up paint pen or a small brush to carefully apply the paint to the scratch. Be sure to use the correct color for your car. Apply the paint in thin layers, allowing each layer to dry for at least 10 minutes before adding the next one.
Depending on the depth of the scratch, you may need to apply multiple layers of paint. Be patient, and don’t rush the process. Once you’ve achieved full coverage, allow the paint to dry for at least 24 hours.
Step 7: Apply Clear Coat
Once the touch-up paint has dried, it’s time to apply the clear coat. This will seal and protect the repaired area. If you’re using a clear coat pen, follow the manufacturer’s instructions to apply the clear coat.
If you’re using, a spray can hold it 6-8 inches away from the surface and apply a thin, even layer of clear coat over the entire repaired area. Allow the clear coat to dry for at least 10 minutes before applying another layer. Repeat this process until you’ve built up a sufficient layer of clear coat.
Allow the clear coat to dry for at least 24 hours. If you live in a humid environment or the temperature is below 60°F (16°C), it may take longer for the clear coat to dry.
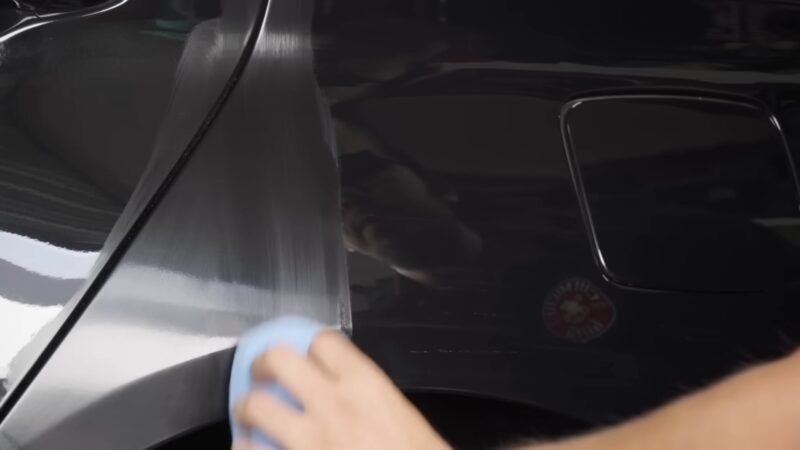
Step 8: Sand and Polish
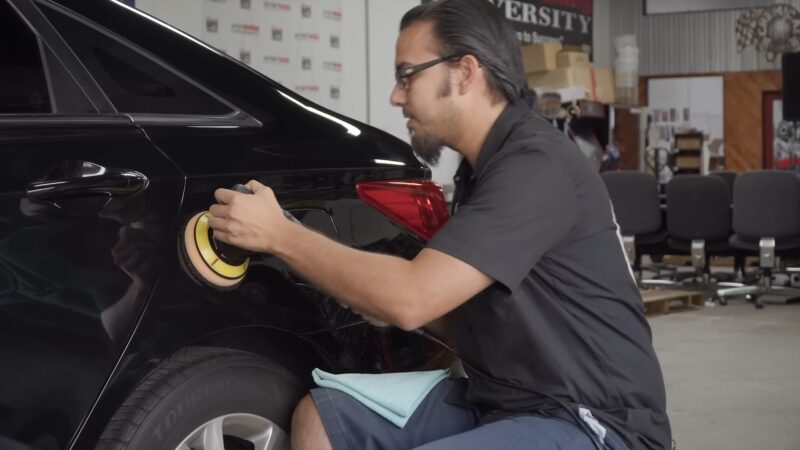
Now that the clear coat is dry, it’s time to sand and polish the repaired area. Start by wet-sanding the clear coat with 2000-grit sandpaper. This will help to level the clear coat and remove any imperfections. Be gentle, and avoid sanding through the clear coat.
Next, use a rubbing compound and a microfiber towel to polish the area. Apply a small amount of rubbing compound to the towel and gently rub it onto the clear coat using circular motions. This will help to blend the repaired area with the surrounding paint and restore the glossy finish.
After using the rubbing compound, clean the area with a clean, damp cloth to remove any residual compound. Finally, apply a high-quality automotive polish to the repaired area using a clean microfiber towel. This will further enhance the gloss and shine of your car’s paint.
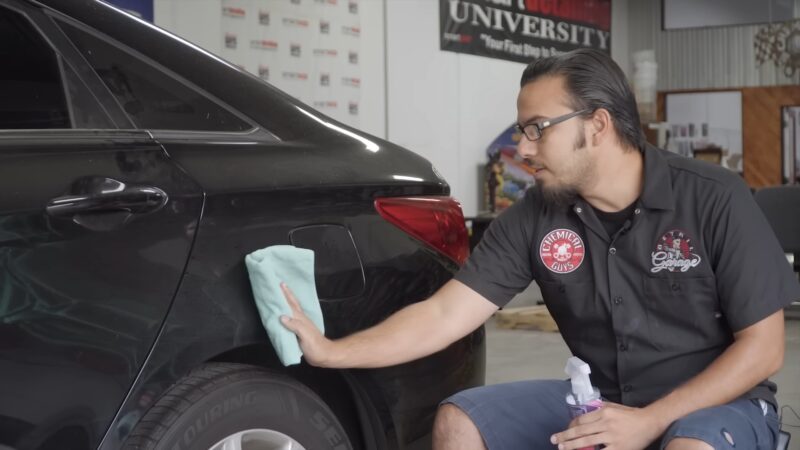
Step 9: Wax and Protect
The final step in the repair process is to wax and protect your car’s paint. Apply a high-quality automotive wax to the entire repaired area, following the manufacturer’s instructions. Waxing will help to seal and protect the paint, ensuring that your repair lasts as long as possible.
Step 10: Maintaining Your Car’s Paint
Now that you’ve successfully repaired the scratch on your car, it’s essential to take steps to maintain and protect your vehicle’s paint job. Here are some helpful tips to keep your car looking its best:
Wash your car regularly
Dirt, grime, and road salt can damage your car’s paint over time. Wash your car regularly, using a gentle automotive soap and a soft sponge or microfiber mitt to prevent scratches.
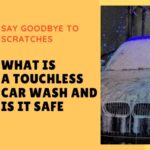
Avoid automatic car washes
While they may be convenient, automatic car washes can cause small scratches and swirl marks in your car’s paint. Instead, opt for a hand wash or a touchless car wash.
Use a clay bar
Over time, contaminants can become embedded in your car’s paint, making it feel rough to the touch. Using a clay bar can help remove these contaminants and restore a smooth, glossy finish.
Protect your car from the elements
Whenever possible, park your car in a garage or under a carport to shield it from the sun, rain, and other environmental factors that can damage the paint.
Apply a paint sealant
For added protection, consider applying a paint sealant to your car’s paint. This will create a barrier between the paint and the environment, helping to prevent scratches, fading, and oxidation.
Watch this video for more tips to make sure your paint lasts longer:
Final Words
Dealing with a keyed car can be a frustrating and disheartening experience. However, armed with the knowledge and skills from this comprehensive guide, you can confidently tackle the repair process and restore your car’s paint job to its former glory.
Remember, patience and attention to detail are crucial when it comes to repairing a keyed car. By following these steps and maintaining your car’s paint, you’ll not only save money but also ensure that your vehicle remains a stunning and eye-catching presence on the road for years to come.